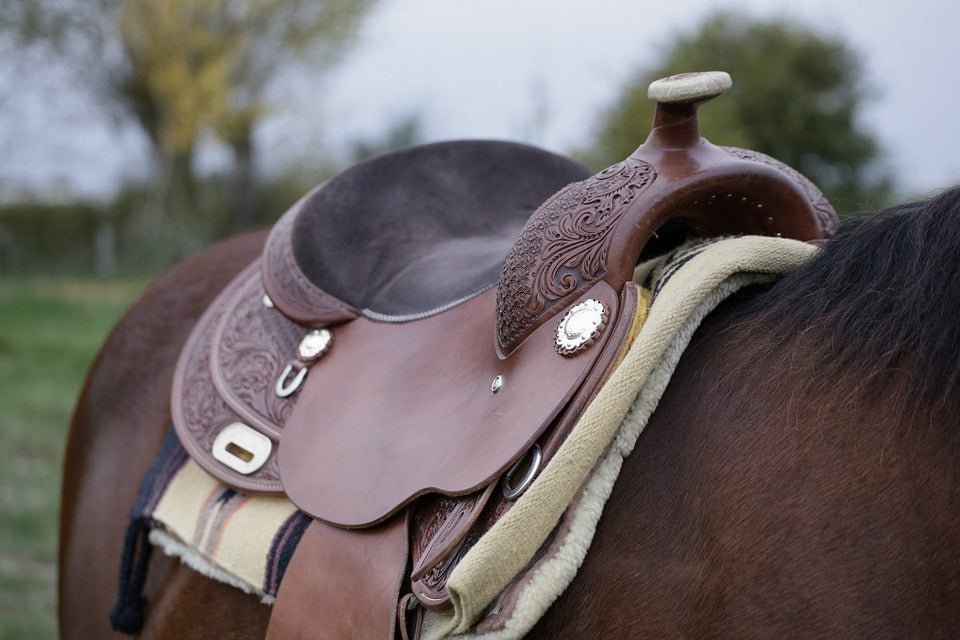
Leather saddles are a significant investment for equestrians, offering both functionality and aesthetic appeal. Over time, however, exposure to elements, daily use, and improper maintenance can lead to wear and tear. A worn-out saddle not only compromises comfort but also affects riding performance and safety.
Proper maintenance and timely repairs extend the life of leather saddles, ensuring durability and continued comfort. This guide provides a step-by-step approach to repairing worn-out leather saddles, restoring them to optimal condition. By understanding common saddle damages, using the right tools, and following proven techniques, equestrians can effectively restore their valuable riding gear.

Understanding Saddle Damage
Types of Leather Saddle Damages
Leather saddles experience various forms of damage over time. Common issues include:
-
Cracks and Dryness – Caused by lack of conditioning, exposure to harsh weather, and improper storage.
-
Scratches and Scuffs – Often occur due to friction, abrasions, or accidental scrapes.
-
Tears and Deep Scratches – Result from excessive wear, rough handling, or impact damage.
-
Fading and Discoloration – Exposure to sunlight and moisture can cause leather to lose its original color.
-
Mold and Mildew – Accumulates due to improper storage in humid environments.
-
Broken Stitching and Loose Seams – Over time, stitching can fray or break, weakening saddle integrity.
How to Assess Saddle Wear and Damage
Before proceeding with repairs, a thorough assessment helps determine the extent of damage. Here’s how:
-
Visual Inspection: Look for visible cracks, scratches, discoloration, and torn leather.
-
Flex Test: Gently flex different parts of the saddle to identify stiff or brittle areas.
-
Check Stitching: Examine seams for loose, broken, or weak threads.
-
Inspect Underside: Ensure the saddle tree (internal frame) is intact and undamaged.
Understanding these damages helps in choosing the right repair techniques and materials.
Tools and Materials Needed
Essential Tools for Saddle Repair
-
Leather Cleaner and Conditioner – Helps clean and soften the leather before repairs.
-
Leather Glue or Adhesive – Ideal for minor cracks and tears.
-
Leather Patch Kit – Includes replacement leather pieces for patching damaged areas.
-
Stitching Awl and Thread – Used for repairing broken seams.
-
Sandpaper (Fine Grit) – Smooths out rough patches and scratches.
-
Leather Dye or Restorer – Restores color and blends in repaired sections.
-
Soft Cloths and Sponges – For cleaning, conditioning, and applying dyes.
Benefits of Using High-Quality Repair Materials
Using premium leather care products ensures:
-
Better adhesion and seamless repair.
-
Long-lasting durability after repairs.
-
Enhanced protection against future wear.
Preparing the Saddle for Repair
Cleaning the Saddle Before Repairs
Dirt, sweat, and grime must be removed before starting repairs. Follow these steps:
-
Dust Removal: Use a soft brush or cloth to remove surface dirt.
-
Deep Cleaning: Apply a leather cleaner using a damp sponge, scrubbing gently.
-
Drying: Allow the saddle to air dry completely before moving to the repair process.
Removing Dust, Mold, and Mildew
If the saddle has mold or mildew:
-
Mix equal parts water and white vinegar.
-
Wipe the affected areas with a damp cloth.
-
Allow the saddle to dry in a well-ventilated area away from direct sunlight.
Step-by-Step Saddle Repair Guide
Step 1: Fixing Minor Scratches and Scuffs
For superficial scratches:
-
Apply a leather conditioner to the affected area.
-
Buff with a soft cloth to blend the scratch.
-
If needed, apply a leather dye that matches the saddle’s color.
Step 2: Repairing Tears and Deep Scratches
For deeper damage:
-
Stitching Method: Use a needle and thread to sew small tears.
-
Leather Patch Method:
-
Cut a patch slightly larger than the tear.
-
Apply leather adhesive to both the patch and saddle.
-
Press firmly and let dry.
Step 3: Restoring Color and Condition
Faded saddles regain their appearance through:
-
Applying a leather dye in even layers.
-
Buffing with a clean cloth for a polished finish.
-
Conditioning to maintain softness and flexibility.
Maintaining Equestrian Gear
Routine Maintenance Tips
-
Clean the saddle after every ride to prevent dirt buildup.
-
Store in a cool, dry place away from direct sunlight.
-
Condition leather monthly to prevent cracks.
How to Regularly Condition and Store Leather Saddles
-
Apply leather conditioner using a soft cloth.
-
Rub it in circular motions for even absorption.
-
Store saddles on a proper saddle rack to maintain their shape.
Advanced Techniques for Saddle Restoration
When to Seek Professional Repair Services
Some damages require professional intervention:
-
Extensive cracking beyond surface-level damage.
-
Severe structural issues like broken trees.
-
Stitching or riveting beyond DIY repair.
Handling Severe Leather Decay and Structural Damage
For extreme cases:
-
Deep conditioning treatments help revive dried-out leather.
-
Replacing leather panels restores saddle integrity.
-
Reinforcing seams ensures long-term durability.
Mistakes to Avoid in Leather Saddle Repair
Common Pitfalls in DIY Leather Repair
-
Using harsh chemicals that dry out leather.
-
Over-conditioning, leading to excessive softness.
-
Ignoring structural issues, which compromise safety.
Tips for Long-Lasting Saddle Repairs
-
Always test repair products on a small area first.
-
Follow product instructions for best results.
-
Invest in high-quality leather care solutions.

Maintaining and repairing leather saddles is essential to ensure their longevity, performance, and safety. Regular cleaning, conditioning, and timely repairs prevent irreversible damage and prolong the saddle’s lifespan. Leather repair is an investment in preserving the quality of equestrian gear.
For optimal leather care, using specialized leather conditioning products, such as those offered by Pecard Leather Care, ensures the saddle remains durable and well-maintained.
FAQs
How often should I condition my leather saddle?
Conditioning every 4-6 weeks prevents dryness and cracks, especially in varying weather conditions.
Can I repair a broken saddle tree by myself?
No, a broken saddle tree requires professional repair or replacement.
What is the best way to store leather saddles when not in use?
Store saddles on a sturdy saddle rack in a cool, dry area away from direct sunlight and moisture.
How do I choose the right leather repair kit?
A high-quality kit includes leather glue, patches, dye, and conditioner for comprehensive repairs. Using professional-grade leather care products, such as those available from Pecard Leather Care, enhances repair effectiveness and prolongs the life of your saddle.
Is it worth repairing an old leather saddle?
Yes, as long as the structure is intact, restoring leather extends usability and preserves value.
What are the signs that my saddle needs professional repair?
Severe cracks, weakened stitching, or a damaged tree indicate the need for expert restoration.